

App testing
This page is for anyone testing Optivo end to end: a Shopify app reviewer, a merchant evaluating it before committing, or a developer checking a change.
Everything below runs on a fresh install with no setup beyond turning the app embed on.
Overview video
Section titled “Overview video”<video controls preload=“metadata” poster=“/brand/optivo-test-storefront.png” style=“width:100%;max-width:900px;border-radius:12px;display:block”
A 1 minute 39 second overview of what the app does and why the price is trustworthy. It is an overview, not a walkthrough — the steps below are the walkthrough, and they take about five minutes to run yourself.
Direct link: optivo-feature-video.mp4
No account to create
Section titled “No account to create”Optivo is an embedded admin app. There is no separate Optivo login, no marketplace account and no onboarding wall — install it on a test store and it opens inside the Shopify admin.
First: turn on the app embed
Section titled “First: turn on the app embed”Nothing appears on a product page until this is done. The app embed ships switched off, which is Shopify’s behaviour for every app embed rather than anything specific to Optivo.
- Shopify admin → Online Store → Themes, then Customize on the published theme.
- In the theme editor sidebar, open App embeds (the puzzle-piece icon).
- Switch on Product options and click Save.
Optivo’s Storefront setup page has a button that opens this panel directly, so you can skip steps 1–3.
An Online Store 2.0 theme is required — Dawn, or anything released since mid-2021. Vintage themes have no App embeds section, and Optivo says so rather than injecting code into theme files. See Install and turn it on.
The five-minute test
Section titled “The five-minute test”- In Optivo, choose Create an option set and name it
Gift options. - Add an option, type Checkbox, label
Gift wrap, pricing rule Flat fee, amount5.00. - Add a second option, type Text field, label
Engraving, maximum length20, pricing rule Per character typed, amount0.25. - Open the Products tab of the set, add an assignment, choose A specific product, and pick one you can find on your storefront.
- Change the set’s status from Draft to Published. This step is not cosmetic — publishing is what writes the pricing configuration to the product metafield. A draft set never reaches the storefront.
- Open that product page on the storefront. Both fields appear near the add-to-cart button, with a running price preview.
- Tick gift wrap and type ten characters of engraving. The preview adds
5.00plus2.50. - Add to cart and continue to checkout.
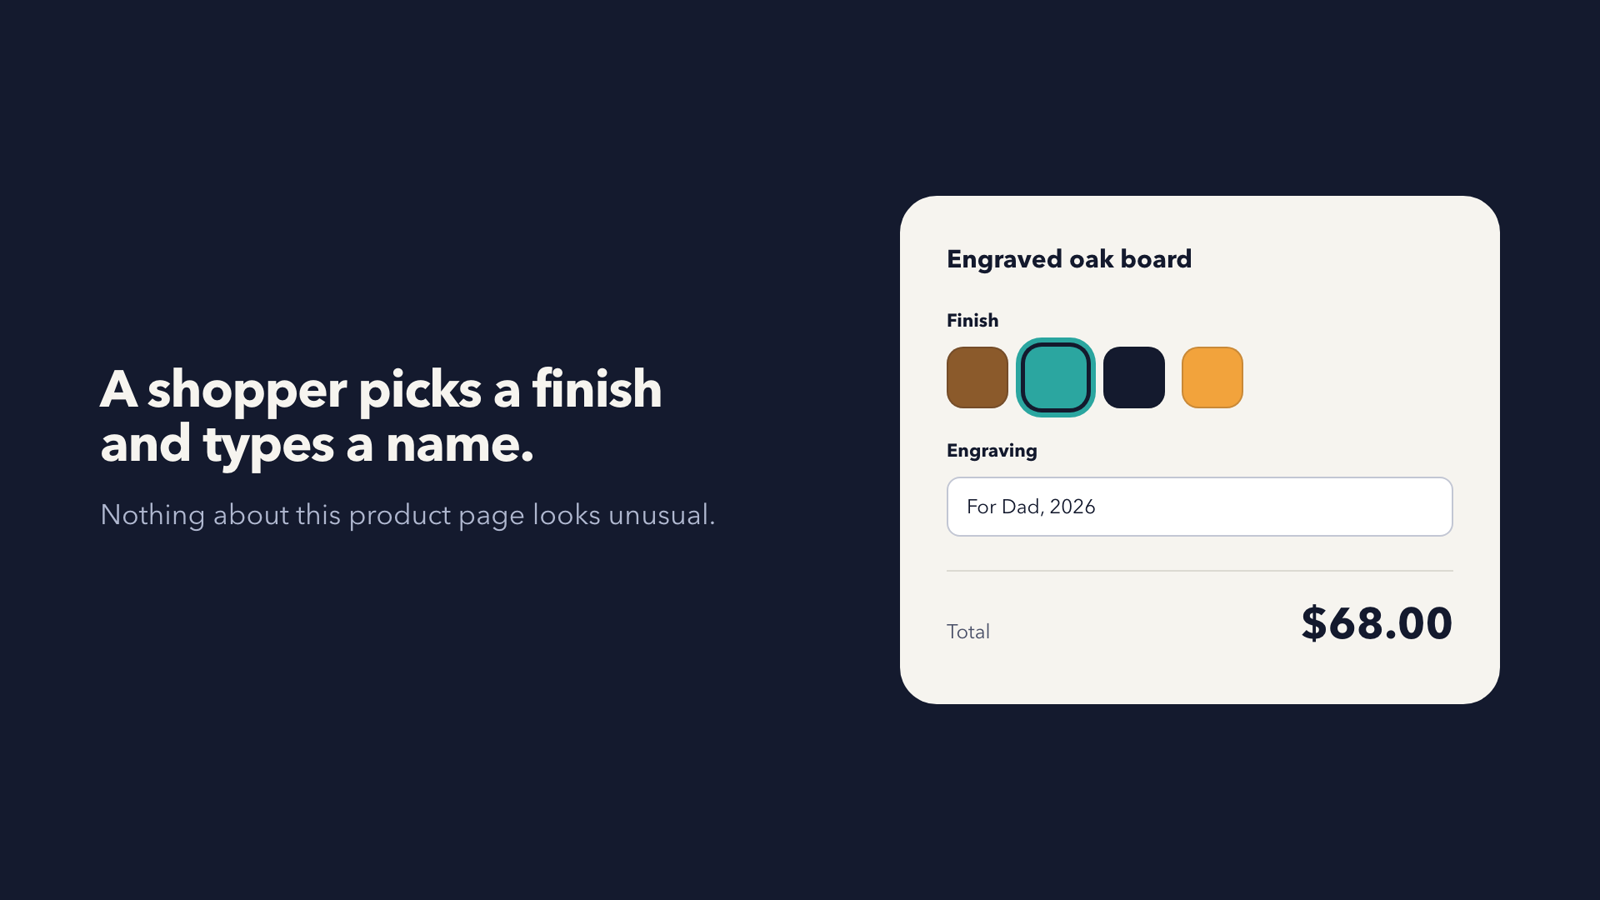
An illustration of step 6, not a screenshot — your theme supplies the styling.
What proves it worked
Section titled “What proves it worked”- The cart line shows the chosen options underneath the product title, as native line item properties.
- The line price includes the
7.50. The number the product page previewed and the number Shopify charges are the same number. - No product variant was created at any point. Check the product in the admin: its variants are exactly the ones you made yourself.
That last pair is the whole product. The checkout price is applied by a Cart Transform function reading the published metafield — not by the storefront JavaScript — so the preview and the charge are built from one configuration. A disagreement between them is a bug we want reported, not a limitation.
Known limits in this release
Section titled “Known limits in this release”- File upload appears in the option type picker marked Coming soon and is deliberately not selectable. See File upload.
- Broad assignments (all products, by tag, type, vendor or collection) resolve in the background, so a large catalogue can take a few seconds before every product shows its options.
- Billing starts on the Free plan at install. Paid plans are started from the Plan page and use the Shopify Billing API. See Plans and limits.
If something does not appear
Section titled “If something does not appear”Work through Troubleshooting. In order of likelihood: the app embed is off, the option set is still a draft, or the product has no assignment.
Anything else — and especially any case where a customer was charged an amount the preview did not show — goes to Contact support, with the figures included.